Quick-Start
Because who really wants to read the manual!
This Quick-Start Guide will get you going with your first Event Season database and your first competition event. We're just covering the basics here to get you started, we would encourage you to dive deeper into this document to take advantage of the full functionality that Finish-Time has to offer. Elsewhere in this document we provide a more immersive explanation on topics like the PAX Indexes and how to update them, etc.
Initial Setup
Product Registration
If you haven’t already done so, you will be prompted for your Club Name and License Key every time you start Finish-Time. If you are only evaluating Finish-Time for now, just click Demo. Otherwise, enter your club’s name and License Key, then click Register. Your License Key can be copied from your finish-time.com account that was used to purchase this key.
Timer Configuration
Timer configuration is found in the Preference/Options window.
- Windows:
- Select Edit > Options.
- Mac OSX:
- Choose Finish-Time > Preferences.
Then click on the Timer menu item on the left side of the Options window.
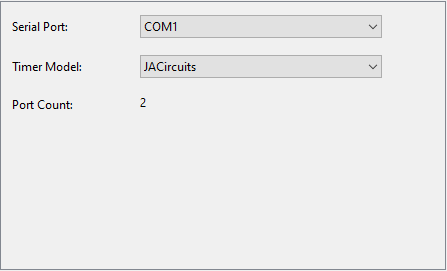
Finish-Time supports the JACircuits, RaceAmerica AC4, RaceAmerica T-Link, and Chronomix CC737 timers.
Your timer uses an RS-232 interface to send data to the computer. But that communication channel must be opened first by configuring Finish-Time to access one of your computer’s serial ports.
Select the serial port in which the timer is Connected To and the Timer Model that you are using. Test the configuration by turning on the timer and pressing the "Start" and "Stop" buttons on the timer. If the port is active, the time should appear in the "Finish" panel.
See No Response from Timer to troubleshoot serial port issues.Create a Season Event Database
In this section, we will create a new Season Event Database. All competition events and points are stored in a single database. By doing this, we can calculate both competition points and any optional "Club" points that your club uses, event during a timed run. Example: Points for Chairing an event. So, if your club has scheduled 12 Autocross events this season, all 12 of them will be embedded into the database we're going to create next.
Click File > New Database
The New Season Database wizard appears, you have to options here. Import Properties fro a Previous Event. That would be a Finish-Time Database from last year or Use Default Properties.
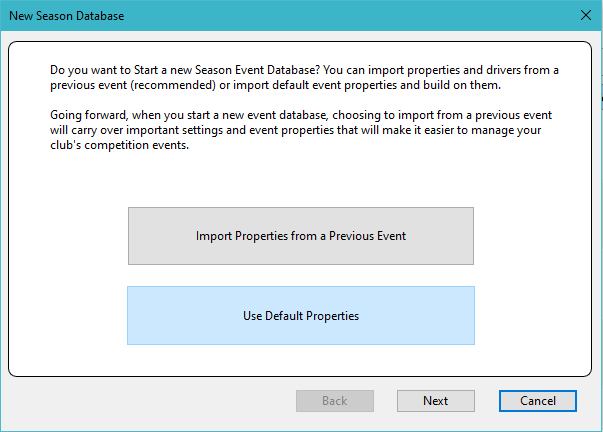
Whichever choice you make, you will have the opportunity update your current Classes and PAX Indexes. In this example, choose Use Default Properties, then Click Next.
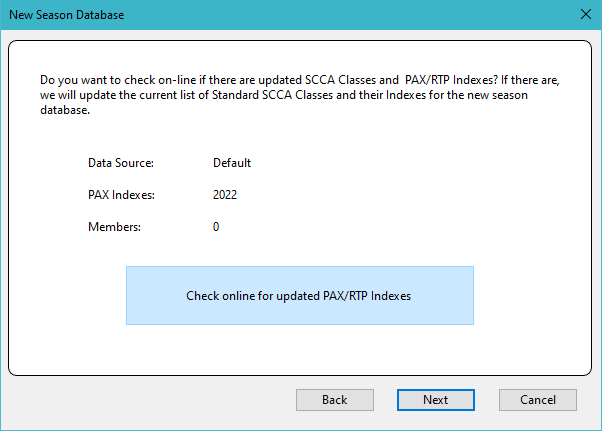
Selecting Check on-line for updated PAX/RTP Indexes, Finish-Time will go to our website to retrieve the updated indexes if they exist. Click Next.
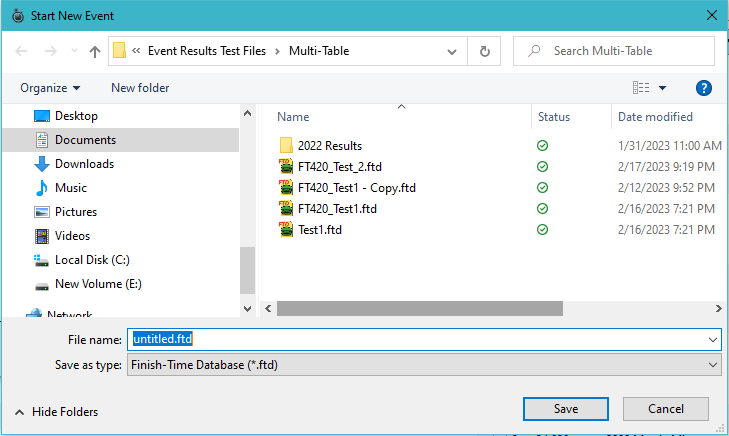
Select a location to save the database.
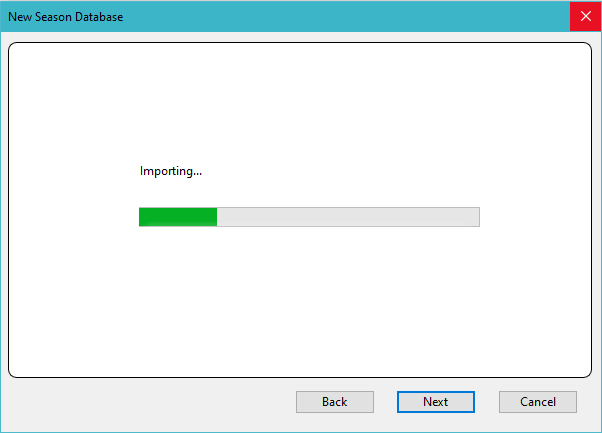
The Importing process begins while updating the PAX Indexes as needed...
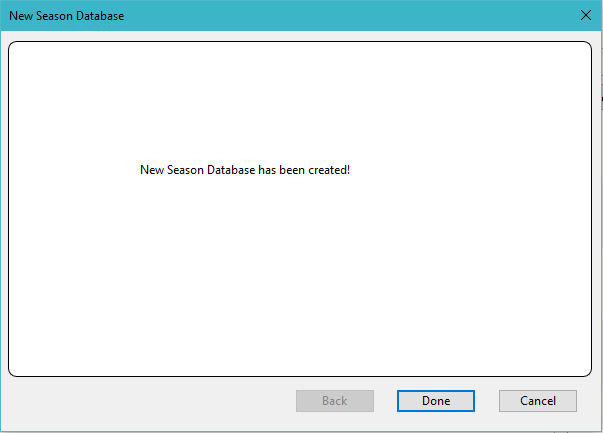
And now you have your first Event Season Database. Next up: Creating your first Competition Event.
Start a New Event
Select Tools > Event Manager
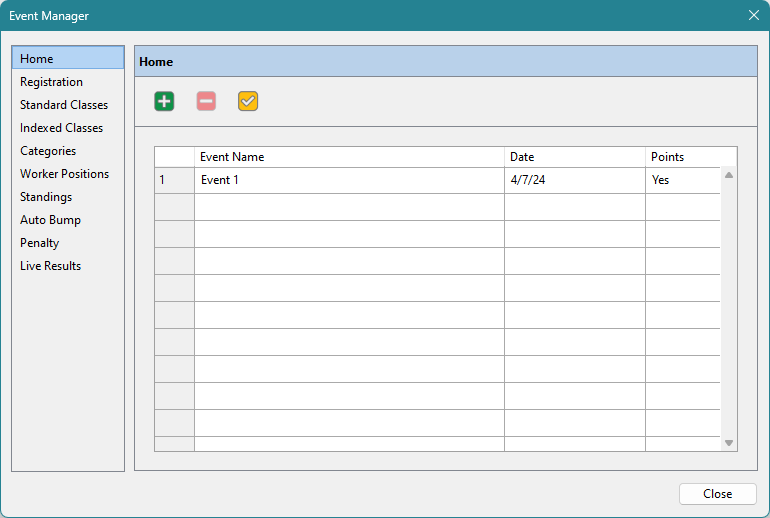
Ensure the Home panel is selected from the menu on the left side of the Event Manger window. Then Click the  button.
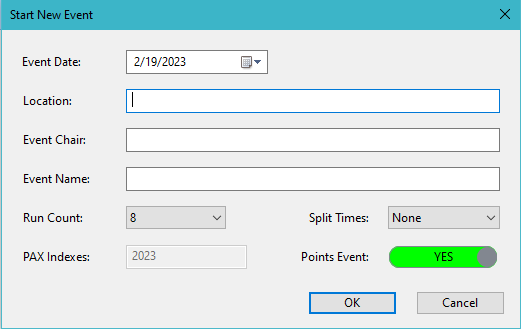
Enter the event Location, Chair, Name as above. Run Count is the number of expected timed runs each driver make. Split Times defaults to none, but with additional timing units, you can capture up to 2 split times between Start and Finish.
Points event defaults to YES. Choosing NO here will exclude the event from the final points tally.
Click OK to confirm.
Register Drivers/Members
- Select View > Registration
- The driver might already be in the database, try searching for the driver in the Search Field at the top of the Registration Panel.
- If not, then Click the New Tool Bar Button.
- Enter the driver’s CarID as number and class. The Yellow Caution Sign next to the CarID field will change to Green with a valid CarID. Then press RETURN on your keyboard. If the Caution Sign turns remains yellow or turns red, see CarID Conflicts.
- The Class drop down menu defaults to the same class entered in CarID. In addition to the declared class, the PAX Indexed Classes that your Club has established are included here, choose the class the drivers declared class.
- Enter the Drivers Name, Car Make, and Model, etc.
- Clicking the Registered/Not-Registered switch will register the driver.
Print Results
Printing event results is easy, just click the Print tool bar button and select Results.
However, printed results look best when printed Landscape. To configure your printer for Landscape, select View > Report and click the Event Results button on the Report Setup menu bar.
Once the preview is drawn, click the Page Setup tool bar button and select Landscape from your Page Setup dialog. MS Windows will also let you adjust all four margins for the best fit.
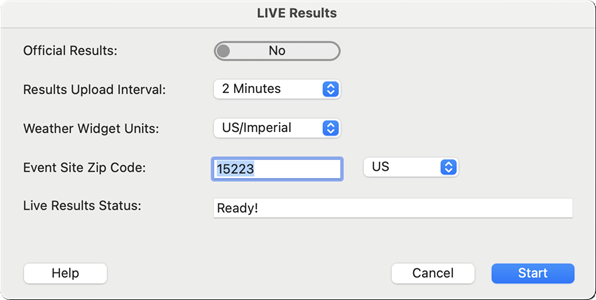
Post LIVE Results On-Line
- Confirm that you configured Finish-Time LIVE
- Select Tools > Finish-Time LIVE
- Choose the Upload Interval in minutes.
- Enter the Event Site Zip Code and the Weather Widget Units for your region, this will include the current weather conditions for the Event Site.
- Then click the Start button.